> For the complete documentation index, see [llms.txt](https://docs.candelacharts.com/llms.txt). Markdown versions of documentation pages are available by appending `.md` to page URLs; this page is available as [Markdown](https://docs.candelacharts.com/toolkits/block-concepts-tm/suspension-blocks.md).
# Suspension Blocks
### What are Suspension Blocks?
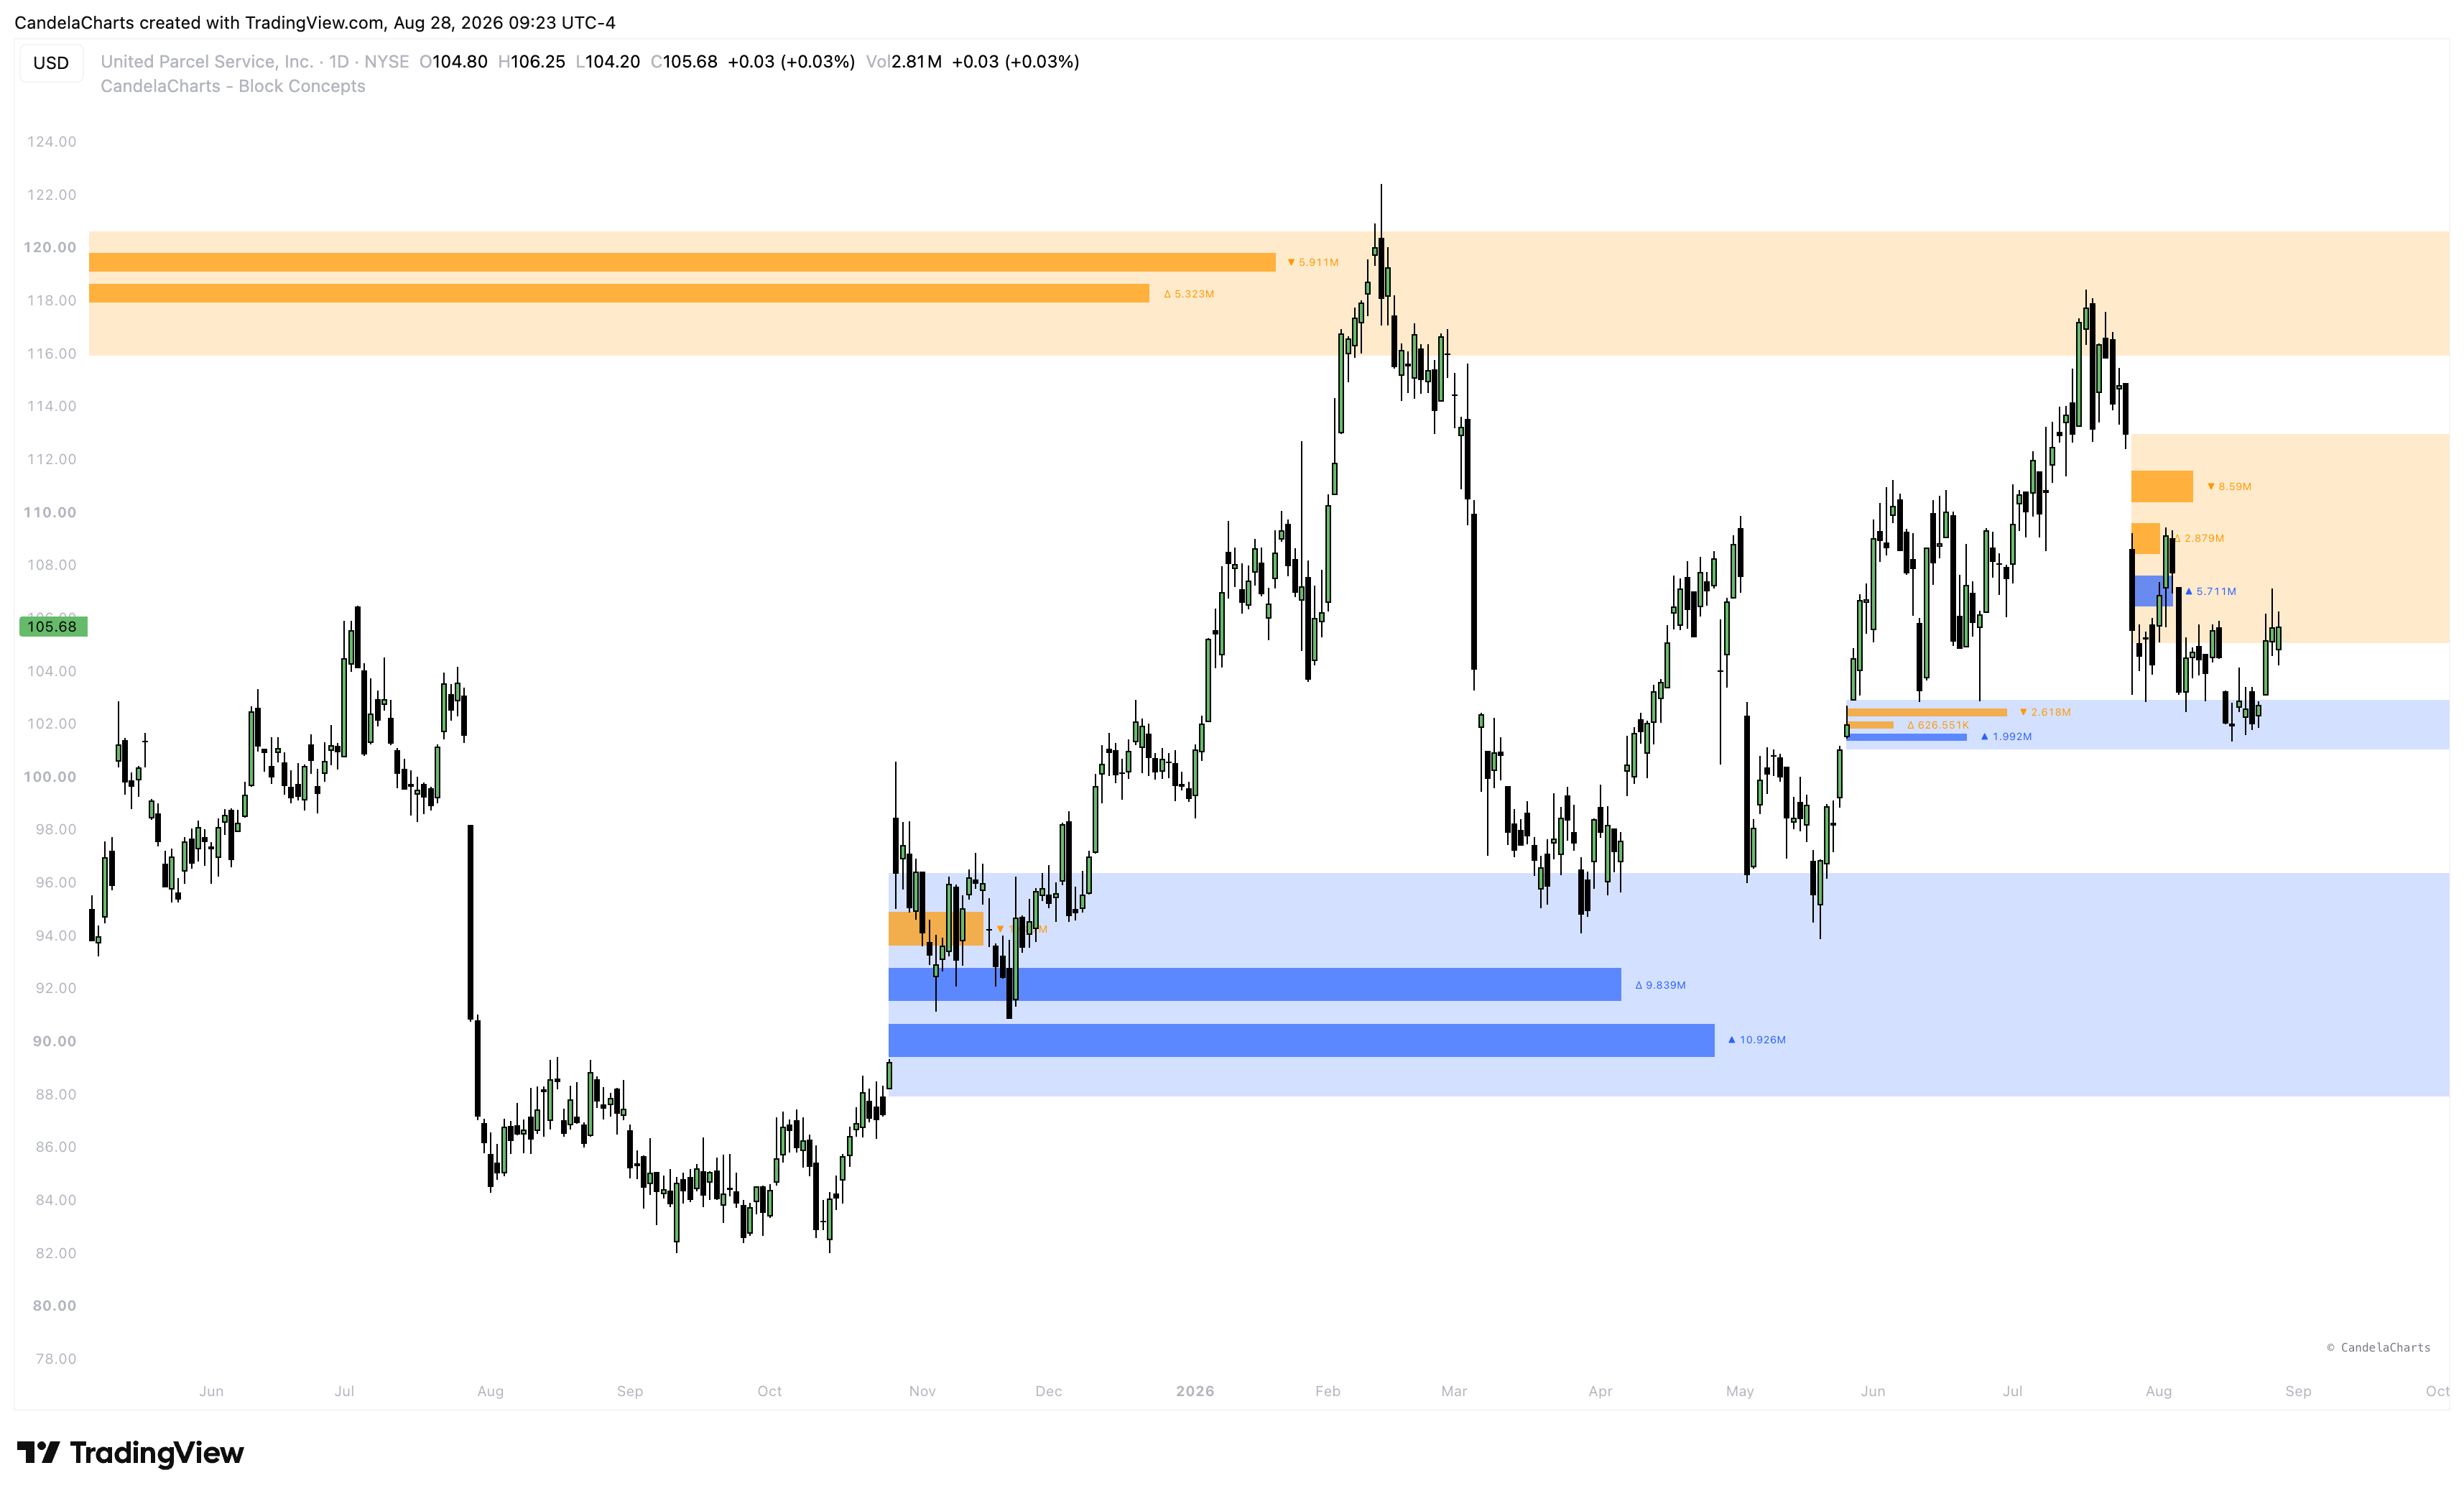
**Suspension Blocks** are highly specific price zones where institutional order flow temporarily stalls—or "suspends"—market momentum before initiating a significant, aggressive repricing move.
Unlike standard Order Blocks that simply highlight the last down-close candle before an up-move (or vice versa), a Suspension Block identifies the exact cluster where price was forcibly held in suspension to accumulate massive institutional volume. Once price breaks away from this zone, the sheer volume of orders left behind makes the Suspension Block an incredibly rigid barrier for future price action.
### How to Use Suspension Blocks
Suspension Blocks act as brick walls in the market. When price returns to a Suspension Block, you can expect an aggressive defense of that level by institutional algorithms.
#### **1. Trend Continuation Entries**
The most reliable way to trade Suspension Blocks is as continuation entries during a macro trend. When the market breaks away from a Suspension Block and later retraces back to it, the institutional entities that built their positions there will step in to defend their average price, causing a sharp continuation in the original direction.
#### **2. Determining Market Bias**
Suspension Blocks are excellent barometers for overall market strength.
* If a Bullish Suspension Block holds, the market remains firmly in a bullish state.
* If price cleanly slices through and closes below a Bullish Suspension Block, it indicates a major shift in market structure and institutional intent, often signaling an impending trend reversal.
#### **3. Stop Loss Placement**
Because Suspension Blocks are fiercely defended, they provide excellent structural points for stop-loss placement. If you enter a trade near a Suspension Block, placing your stop loss just outside the block provides a logical, statistically sound invalidation point. If the block fails, the trade idea is completely invalidated and it is safest to exit.
{% hint style="info" %}
Use the **Alignment** settings (such as *Precise* or *Accurate*) in the indicator options to perfectly calibrate how Suspension Blocks are drawn on your specific asset. Not all assets react to accumulation zones identically, and adjusting the alignment ensures the block highlights the true institutional defense line for the pair you are trading.
{% endhint %}
---
# Agent Instructions
This documentation is published with GitBook. GitBook is the documentation platform designed so that both humans and AI agents can read, navigate, and reason over technical content effectively. Learn more at gitbook.com.
## Querying This Documentation
If you need additional information that is not directly available in this page, you can query the documentation dynamically by asking a question.
Perform an HTTP GET request on the current page URL with the `ask` query parameter, and the optional `goal` query parameter:
```
GET https://docs.candelacharts.com/toolkits/block-concepts-tm/suspension-blocks.md?ask=&goal=
```
`ask` is the immediate question: it should be specific, self-contained, and written in natural language.
`goal` is optional and describes the broader end goal you are ultimately trying to accomplish on behalf of the user. GitBook uses it to tailor the answer towards what is most useful for that goal.
The response will contain a direct answer to the question and relevant excerpts and sources from the documentation.
Use this mechanism when the answer is not explicitly present in the current page, you need clarification or additional context, or you want to retrieve related documentation sections.